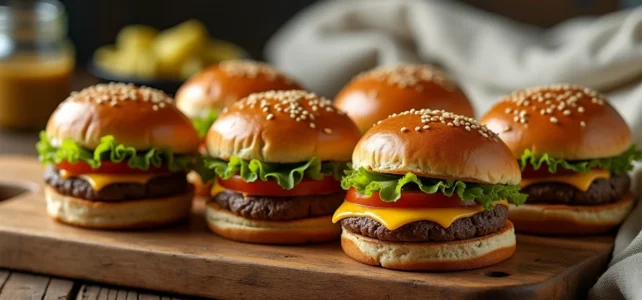
A mini appetizer hamburger relies on three technical elements: a sufficiently firm bun to avoid getting soggy, a meat patty that holds up during cooking, and an assembly designed to withstand several hours of waiting. Preparing these bites in advance changes the logistics of an evening, provided you master the behavior of each component over time.
Chilling the patties: the technical gesture that changes everything
Most mini burger recipes detail the cooking and assembly but overlook a step that conditions the success of advance preparation: the resting of the patties in the refrigerator after shaping. Shaping the steaks and then placing them in the cold for at least thirty minutes, or even several hours, allows the fat to firm up and the ground meat to gain cohesion.
Without this resting period, the patties crumble in the pan or on the griddle. The result is a bite that disintegrates at the first contact with the bun. By preparing them the day before and keeping them in the refrigerator until the next day, the cooking stability improves significantly.
To go further in anticipation, several approaches to savory recipes on Gourmandises et Cie detail what really works when preparing mini burgers a day before serving.
A often overlooked point: slightly flatten the center of each patty before placing it in the cold. The ground meat expands during cooking, and a patty that starts out rounded becomes a ball that no longer fits in the mini bun. Making a slight indentation of about half a centimeter compensates for this swelling.
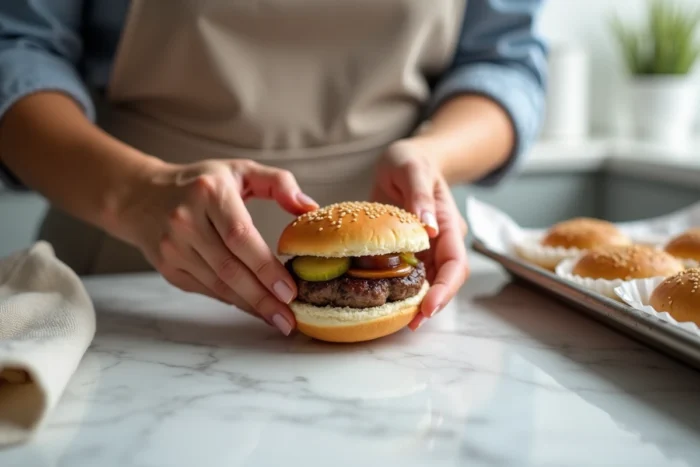
Homemade mini buns: freezing and thawing without sogginess
The bun is the weak link of the mini burger prepared in advance. A bun that is too soft absorbs the juices from the filling and loses its structure. A bun that is too dry breaks under the bite. Freezing offers a reliable solution, but it requires a precaution that many recipes omit.
The mini buns must be completely cooled before freezing. Wrapping a still-warm bun traps steam inside the bag. Upon thawing, this moisture soaks the crumb and produces a spongy bread, unusable for an assembly that needs to hold.
Freezing method that preserves texture
- Let the buns cool on a rack at room temperature, without stacking them, until they are completely cool to the touch
- Place them in an airtight bag, squeezing out as much air as possible, or in a rigid container with parchment paper between each layer
- At serving time, thaw at room temperature and then place in the oven for a few minutes to regain the crispy exterior
This method allows you to prepare the buns several days, or even weeks, in advance without noticeable loss of quality. The classic bun dough (flour, yeast, milk, butter) withstands this treatment well, provided the initial fermentation was complete.
Sauces and toppings: what withstands waiting and what does not
Not all ingredients age the same way between assembly and serving. Hard or semi-hard cheese (like cheddar, comté, or dry goat cheese) remains stable for several hours in the refrigerator once placed on the patty. Fresh mozzarella, on the other hand, releases water and sogs the bun within a few hours.
For sauces, the principle is simple: everything that is emulsified holds better than what is watery. A homemade mayonnaise or ketchup stays in place. A slice of raw tomato releases juice within the first hour.
Toppings compatible with preparation the day before
- Caramelized onions: their confit texture and low water content make them ideal for advance assembly
- Sliced pickles or gherkins: the acidity of vinegar preserves them and adds crunch without excess liquid
- Sliced firm cheese: melts slightly upon reheating without running
- Salad leaves like arugula: more resilient than lettuce, to be added at the last moment if possible
Green salad and fresh tomato remain the two elements to add just before serving. If the complete assembly must be done the day before, it is better to replace them with stable toppings.
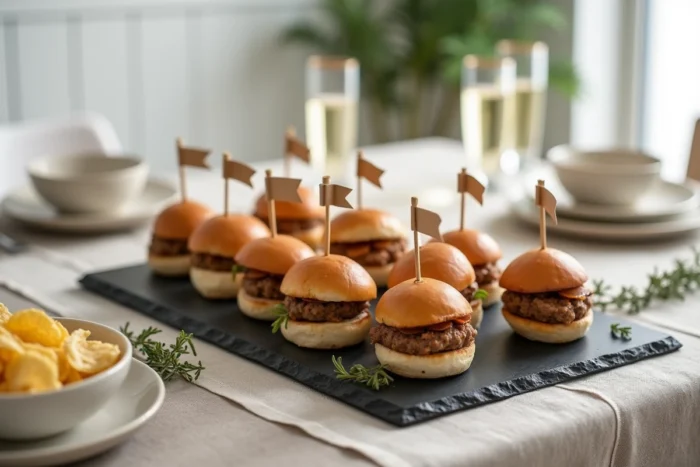
Assembly and reheating on the day: order and temperature
Assembling in advance works, but the order of the layers matters. Placing the sauce directly on the bun creates a fatty barrier that slows down the absorption of moisture by the crumb. The meat patty should always be in contact with the bottom bun so that the cheese melts between the meat and the top bun during reheating.
For reheating, a quick pass in the oven yields better results than a microwave, which softens the bun without heating it evenly. A few minutes are enough to bring the mini burgers back to temperature without drying out the meat.
A detail that makes a difference: take the mini burgers out of the refrigerator about twenty minutes before reheating. A cold burger placed directly in the oven heats unevenly, with a still-cold center and edges that start to dry out.
Preparing mini appetizer hamburgers in advance is not complicated, but it relies on precise actions at each step. The resting of the patties, the complete cooling of the buns before freezing, the choice of stable toppings, and the order of assembly are the four points that separate a successful platter from a soggy one. It’s better to have a simple and well-constructed mini burger than an ambitious recipe that cannot withstand waiting.